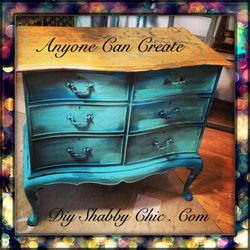
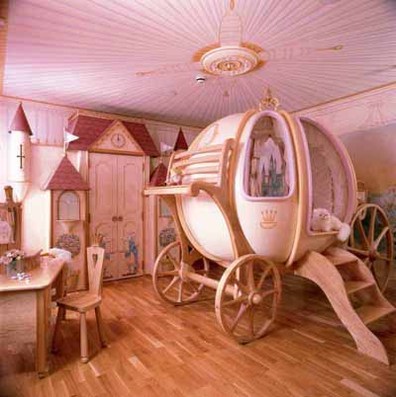
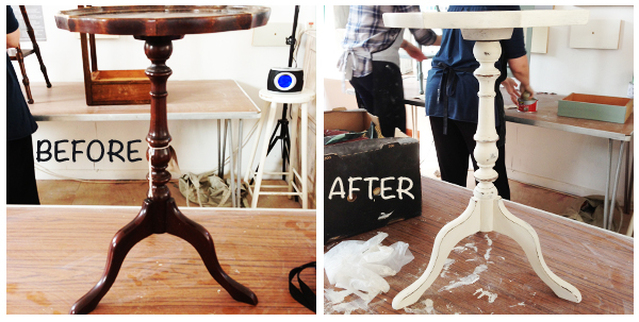
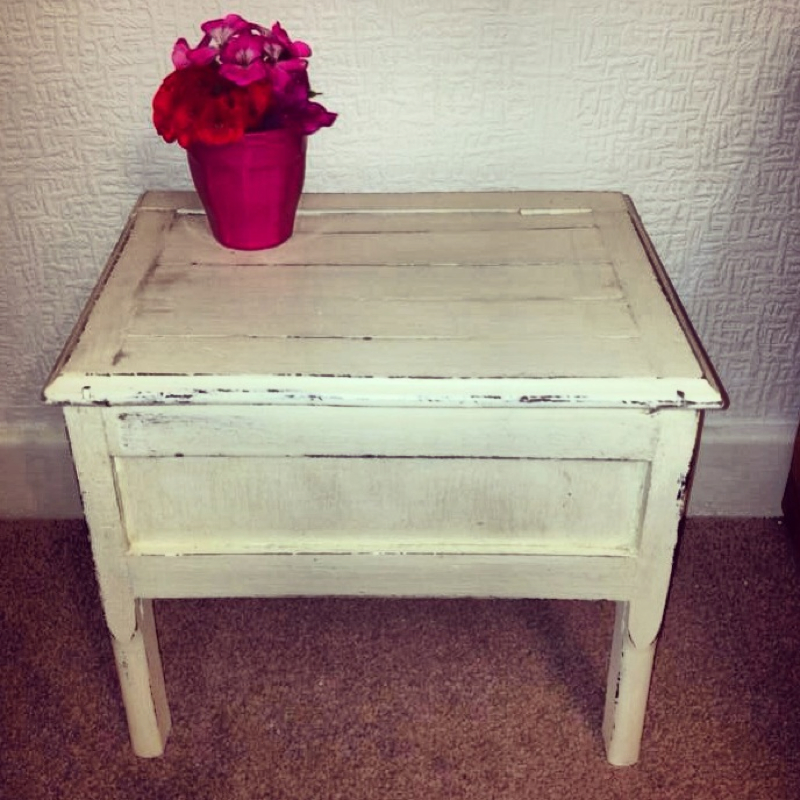
 We just received a report from The United Kingdom Accreditation Service (UKAS, bureau Veritas) stating that "AUTENTICO VINTAGE CHALK PAINT COMPLIES WITH THE EN71-3 REGULATION". This is GREAT because it proves Autentico Vintage chalk paint is toy safe and can be used on children's toys, baby cribs and so on. We knew we would comply but it is always great to hear when an independent testing agency confirms. Autentico paint takes furniture and wall painting to the next level, safe and sound! Now we can paint children's bedroom with piece of mind :) 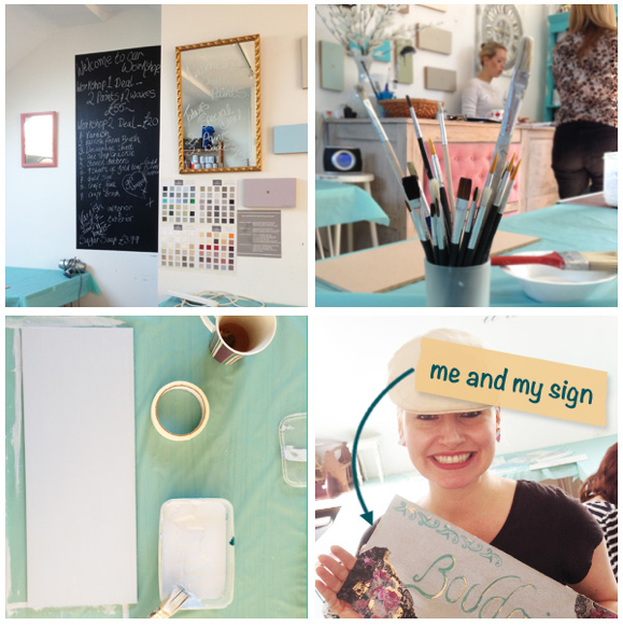 Following on from the workshop 1, Mum and I immediately signed up to the Shabby Chic Workshop 2 “Paint Effects & Finishing Techniques”. Workshop 2 focuses on creating shabby chic embellishments to your furniture such as decoupage, gold leafing, stencilling and crackle glaze. I really liked the idea of personalising my new found love of shabby chic-ing just about everything in sight at the moment. We were pretty excited about this workshop and felt this could be where the real creativity began. I suggested Mum make a sign for the boys room and I decided I’d make a sign for my bedroom. Prior to attending I sourced some images and coloured papers to use and took them along with me. Turning up at the workshop, places had been set with a precut piece of MDF to turn into a shabby chic sign, (for those who hadn’t brought previously painted shabby chic furniture), Autentico chalk paint for people to use along with sponges, paintbrushes and all the necessary equipment needed for the mornings 2 hour workshop. We learnt how to do a heavy crackle glaze with paint and PVA glue, gold leafing, decoupage, distressing and a lighter crackle glaze effect using a specific crackle glaze medium. There wasn’t so much demonstrating this time as there was in the shabby chic workshop 1 and people quickly decided that they wanted to do their own thing . This meant people needed to paint, decoupage, crackle glaze, distress and gold leaf at different times which felt a little chaotic. My carefully selected decoupage pieces were discarded very quickly in favour of the supplied materials, in order to just have a go. I think the real creativity starts when you get home and you can experiment. For this purpose DIY Shabby Chic were selling small kits for around £20 which included crackle glaze medium, gold leaf, sponges etc; a great idea and very economical. I’ve since sourced my own materials but if you’re just looking to have a crack at the shabby chic whip, a ready made kit is advisable. My finished piece, is now in my studio awaiting to be stripped and redone because it was quite frankly a bit of a dogs dinner! I think I was a little bit over enthused as to what I wanted to achieve but I certainly learnt from my mistakes. To be fair, the "DIY Shabby Chic" ladies do say you can take your piece home as ‘reference’ to the new skills learnt, so I think they appreciate there is a lot to take in, in only a 2 hour slot. This is a good shabby chic workshop to attend if you want to try your hand at decoupage, crackle glaze and gold leaf techniques. I have had a lot of fun and success since then, experimenting in my own time. The "DIY Shabby Chic" ladies are very professional, friendly and approachable and their shabby chic workshops have definitely been successful in giving me a basic understanding of the processes involved in shabby chic furniture. They also introduced me to the fantastic chalk based Autentico paint, a revelation as far as I’m concerned. I’ll be posting more on that later. In the meantime thank you to the "DSC" Ladies for spreading the shabby chic love here in Brighton! 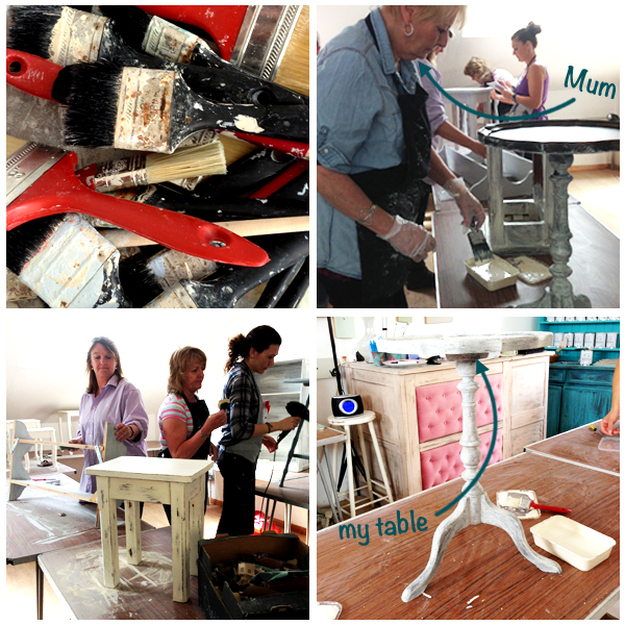 An afternoon away from the kids, it was time for a creative retreat! Always one take advantage of a bargain, as part of a Mothers Day gift, I’d signed Mum and myself up for the DIY Shabby Chic Workshop (1), “Painted Furniture Workshop” to learn to, well, paint furniture, shabby chic stylee. Run by the snazzy Tanya, DIY Shabby Chic offer Shabby Chic Furniture as well as these DIY workshops for the creative sorts, like me. I would describe this workshop as the Jamie Oliver of painted furniture. Thanks to the fabulous Autentico no prep chalk based paint, we quite literally got stuck in within 10 minutes of arriving and a short demo. I’d had images of myself endlessly sanding down furniture. However Autentico paints eliminate the need for this and can be used on most surfaces from wood, to metal, to plastic, varnished and unvarnished surfaces alike. Advised to bring our own small piece to work on I found a nice little number for a tenner from a junk shop in Eastbourne, during a visit to see the parents. From the outset, the paint was very quick drying with a little help from a hairdryer (ouch to their electricity bill) and I managed to get 4 coats on (not the advised 2, oops) very quickly. Probably not the most finite job in the world, but the paint covered fairly well over the dark wood. I think if you want full coverage, especially on dark surfaces, I would add more coats or, to keep the costs down (Autentico isn’t the cheapest as you would expect), give the item a quick coat of emulsion first. As I said the Autentico paint can be used on almost any surface. After an hour and a half of painting and drying, with a cuppa throw in at the very reasonable price of 50p, we then watched a demo in how to distress, wax and varnish our pieces of furniture. Armed with sandpaper, after painting for 1 and half hours we then sanded it off, as my Ma observantly pointed out. However this is how you achieve the ‘shabby’ look. Waxing basically adds moisture into the paint and wood and takes away the chalky residue. The varnishing creates that all important water resistant layer to protect your item. Personally I was rather reserved with distressing my table because I didn’t want it to end up looking like it needed upcycling again, as so many ‘shabby chic’ pieces are in danger of looking. I did use the distressing to good effect though, bringing out the lines and curves of the table. I refrained from varnishing because Ma and I have signed up for the DIY Shabby Chic Workshop 2 “Paint Effects & Finishing Techniques”, learning how to decoupage, add gold leaf and crackle glaze. Looks like I’ve found another upcycling craft to become obsessed with and I’m really looking forward to letting myself go with a bit of the ol’ decoupage. Thankfully the kids survived their 3 hours with the hubby on a Saturday afternoon. All I need to do now is get another pass and convince the hubby to look after the offspring in a couple of weeks time. Better bring out that Jamie Oliver cookbook so I can get stuck in with cooking a meal and earning that pass for the second installment of this creative retreat. :) |
AuthorWhat have we been up to? Check out our blog for news, tips and more :) Archives
October 2016
Categories
All
|
 RSS Feed
